Smart Monthly Plumbing Maintenance Tips to Prevent Costly Repairs
Plumbing problems often arise at the most inconvenient times, catching homeowners off guard. A small leak today can escalate into a major issue tomorrow, leading to expensive repairs and potential property damage. Fortunately, implementing a proactive monthly plumbing maintenance routine can help you avoid these pitfalls, safeguard your home, and save money.
In this guide, we’ll explore seven essential monthly plumbing maintenance tips that are straightforward, effective, and easy to integrate into your regular home care routine. By staying ahead of potential issues, you can ensure your plumbing system remains efficient and reliable.
1. Inspect for Leaks and Corrosion
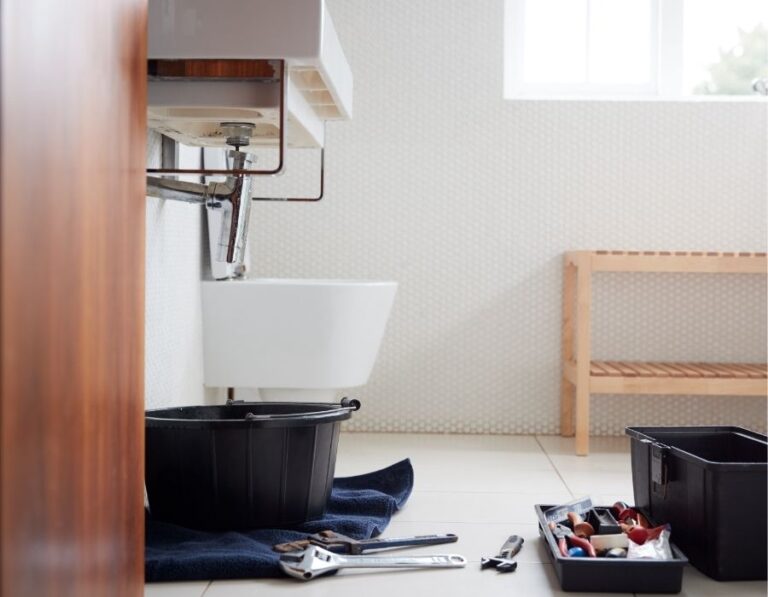
Even minor plumbing leaks can escalate into significant issues, leading to water damage, mold growth, and increased utility bills. Regular monthly inspections are crucial for early detection and prevention.
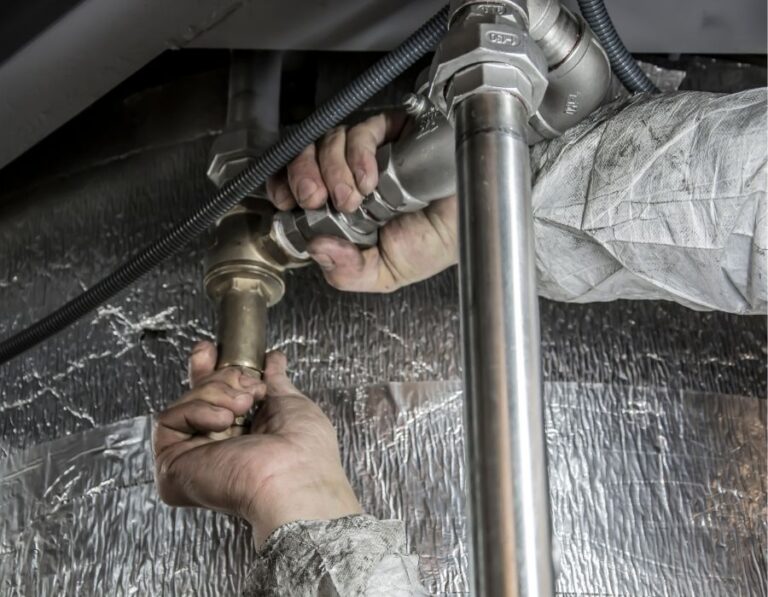
Begin by examining areas under sinks, around appliances, and in basements or crawl spaces for any signs of moisture accumulation. Dampness or pooling water in these areas can indicate a leak. Inspect pipes for discoloration and rust; green or white deposits on copper pipes and rusty patches on steel pipes are indicators of corrosion.
Look for water stains on walls or ceilings, as these may suggest hidden leaks. Additionally, listen for unusual sounds such as dripping or hissing when water is not in use, as these can signal leaks.
If you notice signs of corrosion or persistent leaks, it’s advisable to consult a licensed plumber to assess and address the issue promptly.
By conducting these monthly checks, you can identify and address potential problems early, preventing costly repairs and maintaining the integrity of your home’s plumbing system.
2. Test Water Pressure
Maintaining optimal water pressure is crucial for the longevity and efficiency of your home’s plumbing system. Excessively high pressure can strain pipes and fixtures, leading to leaks or bursts, while low pressure may indicate blockages, leaks, or issues with the pressure regulator. Regularly testing your water pressure ensures that it remains within the ideal range of 40 to 60 psi, safeguarding your plumbing infrastructure.
To test your home’s water pressure, start by turning off all water-using appliances and fixtures to ensure an accurate reading. Attach a water pressure gauge to an outdoor faucet or hose bib, ensuring a tight seal to prevent leaks. Turn on the faucet fully and observe the gauge; a reading within the 40 to 60 psi range is considered optimal for most residential plumbing systems.
If the pressure reading is outside this range, adjustments may be necessary. Locate your home’s pressure-reducing valve (PRV), typically found near the main water shutoff valve. To adjust the pressure, loosen the locknut on the PRV and turn the adjustment screw: clockwise to increase pressure or counterclockwise to decrease it. Make small adjustments and retest the pressure after each change to avoid overcompensating.
Consistently maintaining proper water pressure not only extends the lifespan of your plumbing fixtures but also enhances the overall efficiency of your home’s water system.
3. Clean Drains Naturally
Clogged drains are a common nuisance that can lead to backups and pipe damage. Instead of resorting to chemical drain cleaners, which can corrode pipes, opt for natural cleaning methods that are both effective and environmentally friendly.
Begin by pouring a cup of baking soda down the drain, followed by a cup of vinegar. This combination creates a fizzing reaction that helps break down grease, soap scum, and other debris in the drain . Allow the mixture to sit for 15 minutes to work effectively. Afterward, flush the drain with hot water to clear away the loosened debris.
Performing this natural cleaning method monthly can keep your drains clear and odor-free, extending the lifespan of your plumbing system.
4. Check Appliance Hoses
Appliances such as washing machines and dishwashers rely on hoses to supply water. Over time, these hoses can deteriorate, leading to leaks or even bursts that may cause extensive water damage. Regular inspection and timely replacement of these hoses are essential to prevent unexpected flooding and maintain the efficiency of your appliances.
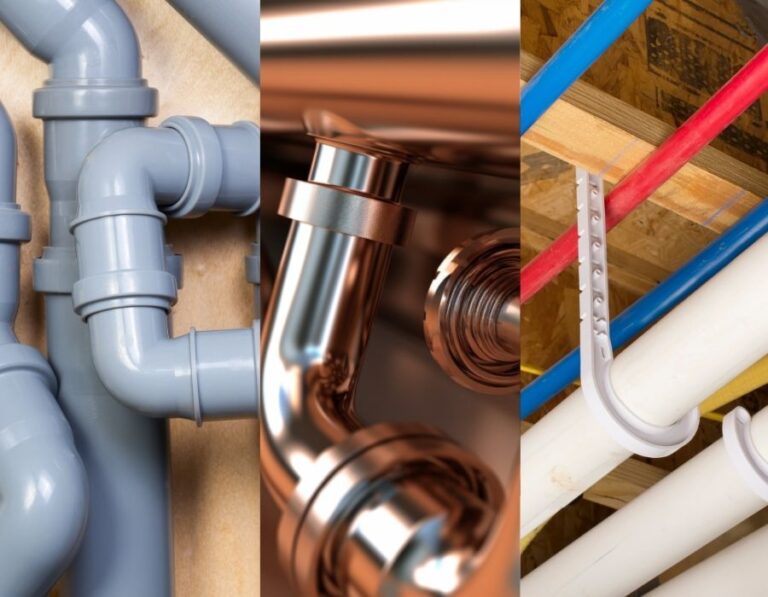
Begin by examining the hoses connected to your appliances for any visible signs of wear, such as cracks, bulges, or leaks. Ensure that the connections are secure and free from corrosion. It’s advisable to replace rubber hoses every 3 to 5 years, even if they appear to be in good condition, as they can weaken over time. Upgrading to braided stainless steel hoses can offer enhanced durability and resistance to bursting.
Regular inspections and proactive replacements of appliance hoses can significantly reduce the risk of water-related damages, ensuring the longevity and reliability of your household appliances.
5. Flush the Water Heater
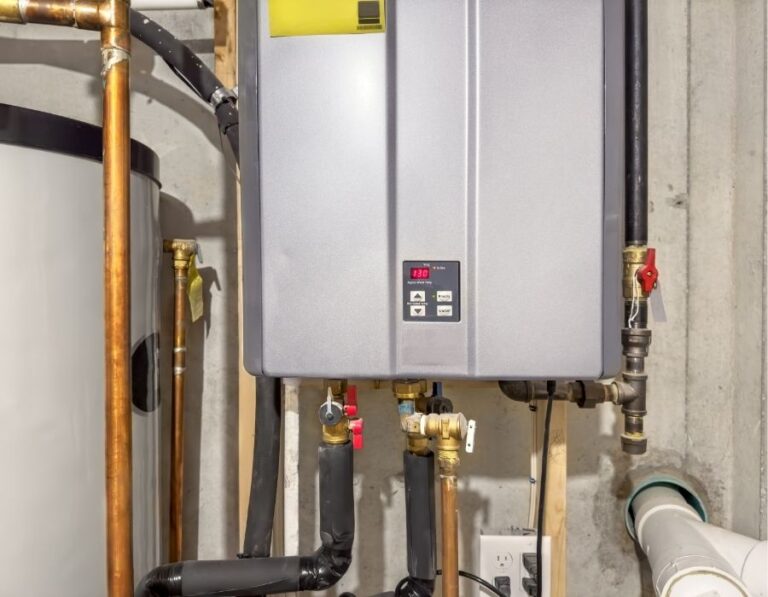
Over time, sediment and mineral deposits can accumulate at the bottom of your water heater tank, leading to reduced efficiency, increased energy consumption, and potential damage to the unit. Regularly flushing your water heater helps remove these deposits, ensuring optimal performance and extending the appliance’s lifespan.
To flush your water heater, begin by turning off the power supply—switch off the circuit breaker for electric heaters or set the thermostat to “pilot” mode for gas heaters. Allow the water to cool to avoid the risk of scalding. Next, shut off the cold water supply to the tank. Connect a garden hose to the drain valve located at the bottom of the tank, directing the other end to a safe drainage area, such as a floor drain or outside. Open a hot water faucet in your home to allow air into the system, then open the drain valve to let the water flow out. Once the tank is empty, briefly turn on the cold water supply to stir up any remaining sediment, then allow it to drain completely. Close the drain valve, remove the hose, and turn the cold water supply back on to refill the tank. Finally, restore power to the heater and ensure it’s operating correctly.
Performing this maintenance task annually can significantly enhance your water heater’s efficiency, reduce energy bills, and prevent unexpected breakdowns. Regular flushing is a simple yet effective way to ensure a consistent supply of hot water and prolong the life of your appliance.
6. Test Sump Pump Functionality
A properly functioning sump pump is crucial for preventing basement flooding, especially during heavy rainfall or rapid snowmelt. Regular testing ensures that your sump pump is ready to protect your home when needed.
To test your sump pump, begin by pouring a bucket of water into the sump pit. This action should raise the float switch, triggering the pump to activate and start draining the water. Observe the pump’s operation to ensure it activates promptly and efficiently removes the water from the pit. If the pump fails to start or drains the water slowly, it may indicate a malfunction that requires attention.
It’s also important to inspect the discharge pipe connected to your sump pump. Ensure that it is free from obstructions and directs water away from your home’s foundation to prevent water from seeping back into the basement. Regularly checking the discharge line helps maintain the pump’s efficiency and prevents potential water damage.
Performing these tests monthly can help identify issues early, allowing for timely maintenance or repairs. Regular sump pump testing is a proactive step in safeguarding your home against water damage and ensuring the longevity of your plumbing system.
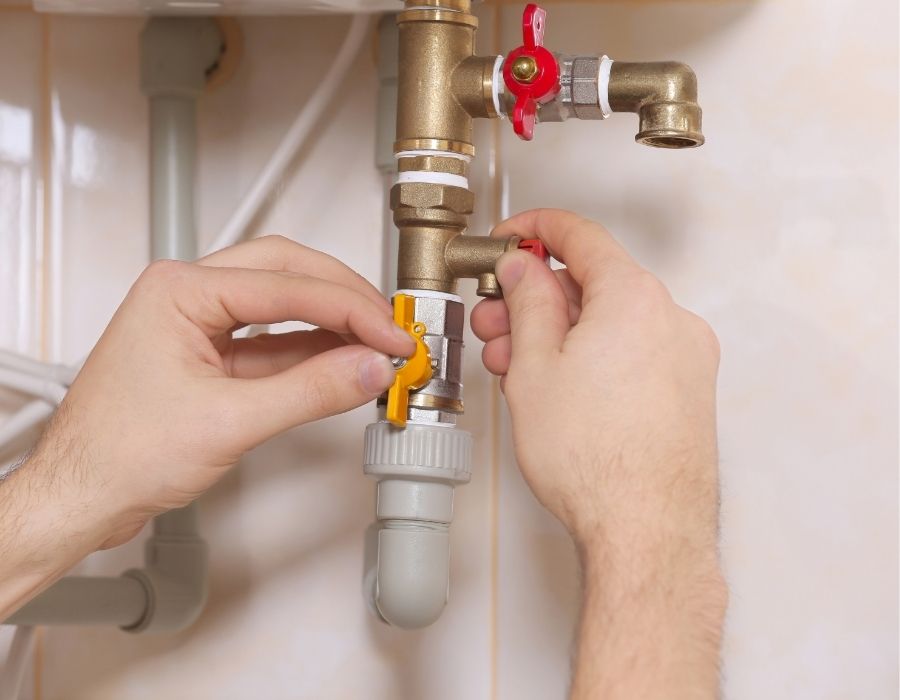
7. Know Your Main Water Shut-Off Valve
In the event of a major leak or plumbing emergency, quickly shutting off your home’s water supply can prevent extensive water damage. Familiarizing yourself with the location and operation of your main water shut-off valve is a crucial step in safeguarding your property.
To locate your main water shut-off valve, start by checking areas where the main water line enters your home. Common locations include the basement, crawlspace, utility room, or garage. In warmer climates, the valve may be found on an exterior wall or in a ground-level box near the street, often labeled “WATER” or “WATER METER” . If you’re unable to find the valve, consult your property’s inspection report or contact a professional plumber for assistance.
Once located, ensure the valve is easily accessible and free from obstructions. Test the valve by turning it clockwise to shut off the water supply, then open a faucet to confirm that the water flow has stopped. If the valve is difficult to turn or shows signs of corrosion, it may need maintenance or replacement .
Regularly checking and maintaining your main water shut-off valve ensures that you can act swiftly during emergencies, minimizing potential damage and repair costs. Being prepared can make all the difference when unexpected plumbing issues arise.
The Importance of Regular Plumbing Maintenance
Regular monthly plumbing maintenance is a proactive strategy that safeguards your home from unexpected and costly repairs. By dedicating a small amount of time each month to inspect and maintain your plumbing system, you ensure its longevity and efficiency.
Consistent maintenance helps in early detection of potential issues, such as leaks or blockages, preventing them from escalating into major problems. This not only saves you money on extensive repairs but also maintains the integrity of your home’s infrastructure. Moreover, a well-maintained plumbing system contributes to better water quality and pressure, enhancing your daily comfort and convenience.
Incorporating these monthly maintenance tasks into your routine is a simple yet effective way to protect your investment and ensure a reliable plumbing system. Remember, preventive care is always more affordable and less stressful than emergency repairs.